
Table of Contents
Introduction
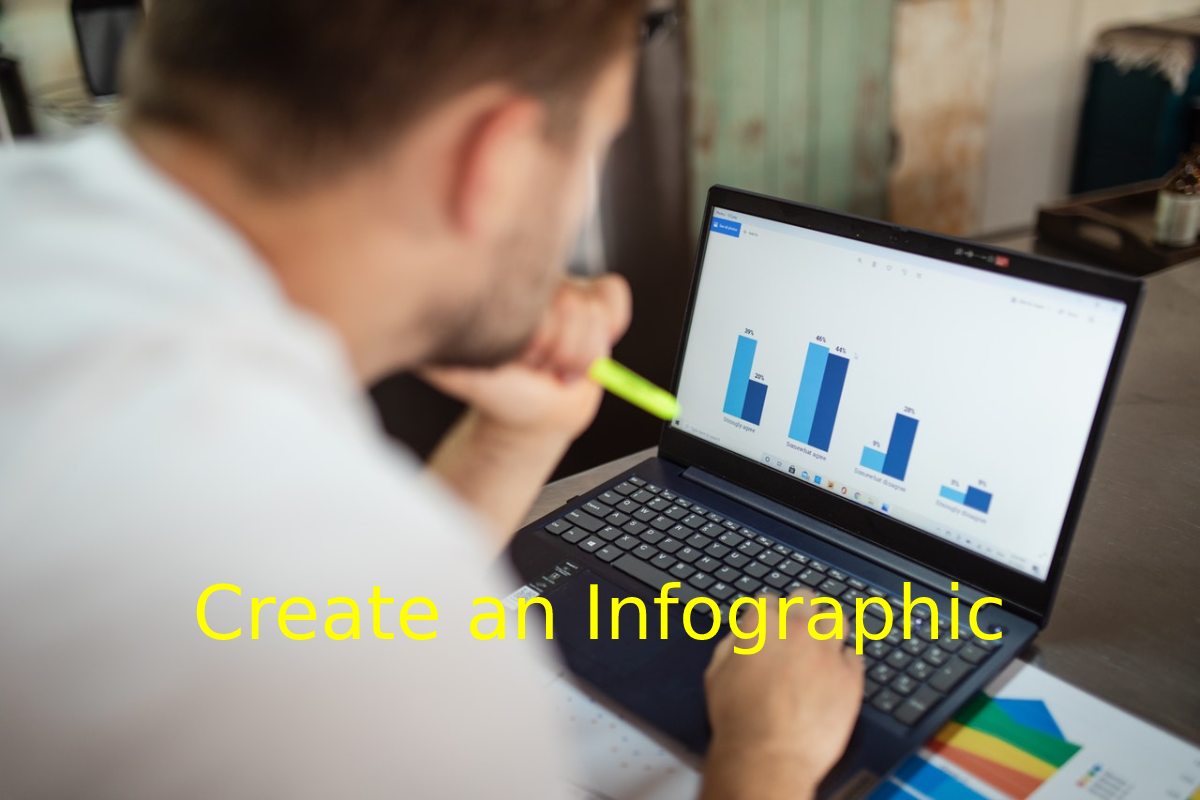
Create an Infographic: Isn’t it amazing if creating infographics was as easy as producing a text-based blog post? Usually, this would need a significant amount of time, effort, and talent, but it does not have to.
You shouldn’t give up just yet, given how popular and influential visual content is in marketing today.
That’s why we’ve chosen to take care of most of the work for you. You can create high-quality, professional infographics in about an hour with HubSpot’s free infographic templates for PowerPoint. Please have a look at the following resource:
In no time, you’ll be able to add your material to pre-made outlines, and if you need any assistance, we’ll teach you how to personalize your infographic in PowerPoint in this post. Remain reading to learn how to make a fantastic infographic with ease.
1. Choose your Desired Infographic Template.
• First, you must choose an appropriate infographic template to represent this data. The important thing is to choose a model that works explicitly for the type of data/content combination that needs to be presented. You can download 15 PowerPoint infographics and select the plant you like the most, as you can see in the arrival image.
• Timeline, flowchart, side-by-side, and data-driven infographics are among the template possibilities in the linked offer above. Here are some general strategies for selecting an infographic template that corresponds to the story you want to tell with your data:
- Side-by-Side Comparison Infographic: This infographic design can assist in highlighting the contrasts between two competing entities or present a benefit of one notion over another.
- Flowchart Infographic – This design perfectly showcases a new workflow for your organization or how a linear or cyclical process works in your industry.
- Timeline Infographic – This designer can tell a chronological story or the story of a company, industry, product or concept.
- Chart-Based Infographics: This designer is suitable for content creators who publish a large volume of data and statistical information, making it a good choice for expert-level audiences.
- Image-rich infographics: This design is for content creators who want to reveal trends and information through shapes, drawings, or photos, rather than just numbers and numbers.
2. Identify the Audience for your Infographic.
The design of an infographic isn’t enough to sell it. You must give “data” as accurate as of the “chart.” It would help if you first determined who your infographic is intended for to accomplish so.
According to Harvard Business Review, beginner, Generalist, Manager, Expert, and Executive are five possible audiences who might influence how you pick and perceive your data. Begin by comparing your infographic’s ideal reader to one of these five target audiences: which one fits your reader best?
Allow the five audiences listed above to decide how sophisticated your data is when deciding what to visualize. Consider the following scenario:
3. Collect your Content and Relevant Data.
The next stage is to arrange all of the material and data used in the infographic, using the previously recorded audience. You can utilize your data or data obtained from external parties. If you use third-party data, cite your sources properly, just like you would with any other good piece of content.
Select your information: compelling Data should be “complete” enough to provide context for the facts you deliver. For example, a month-to-month rise in website traffic is meaningless unless it demonstrates that traffic has been progressively declining for the prior three months. Suddenly, you understand how to reverse a decline.
Organize your data: Before you begin assembling your data, you must first decide what story you want to tell. Data for the sake of data will not improve the value of your infographic.
Cite your sources as follows: A fantastic method to acknowledge your sources and organize your infographic and URLs from other sources is to put a simple URL at the bottom of your infographic that leads to a page on your site. You may also include a list of the particular metrics you used in your Create an Infographic and their sources, such as the complete offer landing page on which your free Create an Infographic is based.
In this manner, your infographic will seem clean and professional, and viewers will be able to see the typefaces regardless of where they are on the page.
4. Download your Template to PowerPoint.
I’m going to make an infographic based on a compilation of processes and best practices that we put together in our guide, How to Manage a Post Marketing CAMPAIGN, to save time (remember, we aim to build an infographic in under an hour).
For this, I picked our “World’s Greatest Timeline” infographic design, which is a better fit for my data set because it allows me to highlight each phase of the campaign production process in chronological sequence.
Customize your timeline infographic using the world’s most prominent example of a timeline infographic template5.
Connecting to the material you previously left behind takes the most time.
Create an Infographic
Make a catchy title, fill in the blanks with your data/content, and tweak the font size and styling. Change the descriptions and colours to match your brand and the data you’re working with. You may add or change colours or font styles to further personalize your infographic design.
You’ll see that in this example. I entered my content and changed the font colours to HubSpot’s dark blue and orange:
You’re also not restricted by the template’s features. You may utilize PowerPoint software features to support your statistics to generate bar charts, pie charts, and other visualizations. (Note: For a cheat sheet on using PowerPoint’s many features and capabilities, download our free infographic templates.)
6. Include a Footer with your Sources and Logo.
I’ve provided a link to my source (which you can find here) and the corporate logo. As a result, when HubSpot’s branded content is shared on social media or incorporated into other websites, consumers recognize it. After all, one of the primary advantages of making infographics is the ability to share them.
7. Add Embed code and a Pinterest Button, and Publish it.
All that’s left is to publish and announce your fantastic new infographic. As I said earlier, we post it to your blog along with your list of sources. A Pinterest button so visitors can easily “pin” your infographic on Pinterest. And create and add code to integration so that visitors can share on your websites. And blogs, as we did above.