Table of Contents
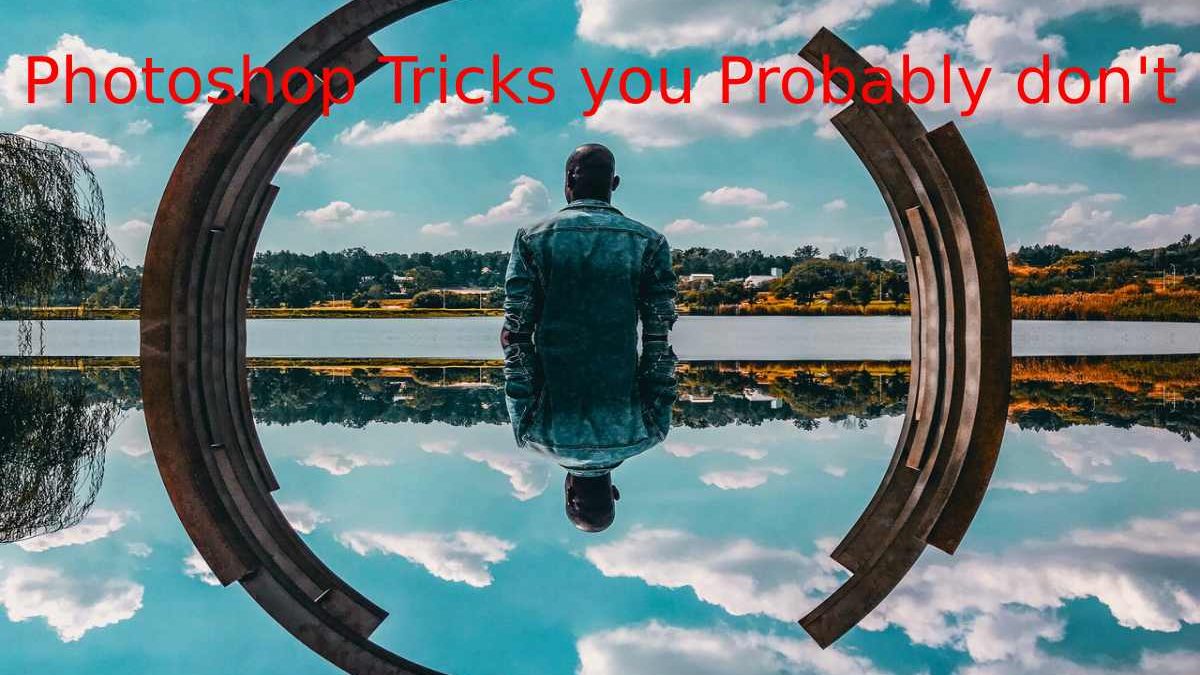
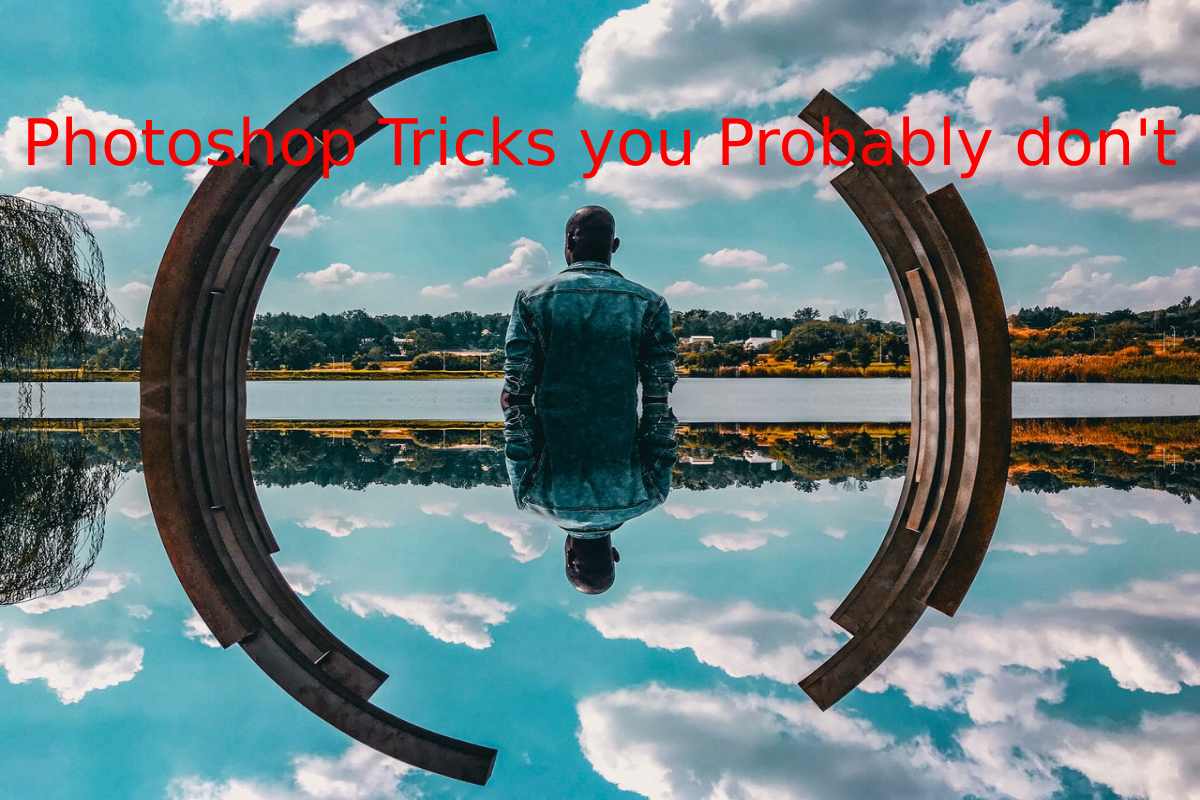
Photoshop Tricks
Photoshop Tricks is one of the most widely used photo altering applications. As a result, practically all photographers consider the Adobe application one of the most effective and comprehensive tools for modifying their photographs.
However, despite its everyday use for many of us, it has many possibilities that can continue to surprise us even today. Thus, some Photoshop tricks cannot be considered tricks as such but as options that we do not know since these are usually hidden between the software’s different submenus.
In fact, on the YouTube channel Photoshop Training Channel, they have been in charge of making a video tutorial explaining 5 of them. But I think there are some more that, although some may know them, are not usually known by vast majority. It is clear that there are many Photoshop tricks, and here we will only point out some of them. However, the usefulness that we find will depend on the type of functions that we carry out with the Adobe program.
Lorem Ipsum
Lorem ipsum is an automatically generated Latin text used for typography demonstrations. It is something fundamental, but sometimes it can be helpful. It is an excellent tool to avoid writing as if we had possessed by devil when we try to fill in a text box and thus check how its design would look. Doing it in Photoshop is easy; we have to make our text box and go to text-paste Lorem ipsum.
Scale Based on Content
Content-aware scaling is proper when you want a photo to fill the entire canvas without having to crop it. It works exceptionally well with landscape photos that don’t have too many elements. Thus, we can stretch the image from some edge using this tool, and Photoshop will interpret the necessary data to make it deform as little as possible. Of course, everything has a limit. Just press Shift + Ctrl + A or go to edit – scale content-aware.
Perspective Warp
We can select an object from the image whose dimensions we can individually alter using this tool. We will have to go to edition – perspective deformation, and later a grid will appear with which we will shape the figure that we want to alter. The next step will be to accept the selection to start deforming that element as we please. It is intended to modify buildings.
Black and White Layer to Control Color
a single of the advantages of black and white is the possibility of individually modifying the tones without affecting the colours displayed. To do this, we need to create a new adjustment layer to apply the luminosity blending mode. However, we can also do this in RGB. Thus, we will have the possibility of independently altering each colour.
Split Screen
One of the advantages of Lightroom is the ease it offers to split the screen and thus compare, for example, the same image with a different zoom. In Photoshop, it is not such a polished function, but there are some options. We need to open our vision and select window – arrange – new window from (filename). Thus, another tab will open with an identical photo. The next step would be to go back to the window – organize and click on two sheets horizontally or vertically, depending on what seems most comfortable to us.
Selective Blur
As of Photoshop CS6, the option to go to filters – gallery of Blur effects was included. It is a tool that offers different possibilities to blur our image in a specific area. Likewise, there are also different blur modes, each with individualized values that we can alter to create an image.
As we have seen, these Photoshop tricks are options that can make editing tasks easier for us or give us new possibilities to alter an image despite not being so important.
Photoshop Tricks Keep a history of all operations performed on a document
1. Don’t Panic
Don’t panic: there’s a feature to turn on to record all the changes you’ve made. After an hour of working in a photo editor, you got the result you want, but you can’t remember the exact steps you took. How to do it? You need to open the preferences panel (CMD + K from the keyboard if you are working with a Mac, or CTRL + K for computers with Windows installed), select the menu item “I write stories,” activate the checkmark, and select Save log entries as TEXT FILE. You will then ask where to save this Document with the journal.
2. Open a PSD in a Single Layer.
To speed up the work process, we can merge, during the opening phase, all the decomposed layers that inside a Photoshop document saved precisely with the. PSD extension. Select FILE / OPEN and choose the file we want to open, but before clicking OPEN, we need to hold down SHIFT + OPTION (SHIFT + ALT on Windows). We will ask if we want to Read compound data by confirming that our file will open at one level with OK. This is a great way to view a large file that usually takes a long time to process when opened.
3. Use Two Different Views side by Side for the same Document.
It is possible to have the same photo open in two windows and perhaps put them Side by Side, for example, to have a 100% view and a zoomed view. In the “Window” menu, you can see the list of open windows, scroll down and select WINDOW / SORT / NEW WINDOW FOR [vostro file name]. Then we click on WINDOW / SORTING / TWO VERTICAL to have the two views Side by Side.
4. Rotate the View of the File, not the Artboard
To rotate our documents 90 ° by 90 °, we have to select EDIT / ROTATE IMAGE. And choose one of the available options. Still, maybe you don’t know it, by pressing the R key on our keyboard. We can open a kind of compass that allows us to rotate temporarily just the file display, not our Document.
5. Quickly Edit the Last Point Created on a Route.
If you know how Bezier paths work in Photoshop. You know that it often happens to modify a point, after clicking to create a new handle. Perhaps in the wrong place, to make a perfect curve. As a rule, we complete the design and then make the variation. There is a way to modify the last created point without changing the tool immediately. As soon as we realize that we have clicked on the wrong end. With the pencil tool, without releasing the mouse click. We keep the SPACEBAR pressed on the keyboard to freely move the last point with the mouse. Seeing is believing.